Wednesday, October 19, 2011

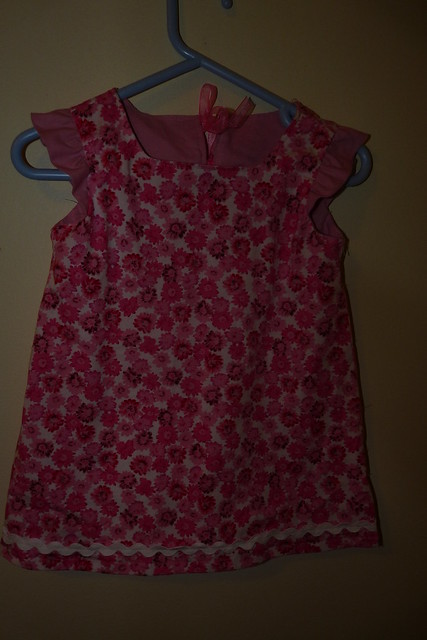
Elsie Dress

Another cute creation, this time an Elsie Dress by Sew Sweet Patterns. Rather than have the contrast hem, I kept the dress plain and added a row of ric rac - not entirely intentional but still works.
Elsie Dress
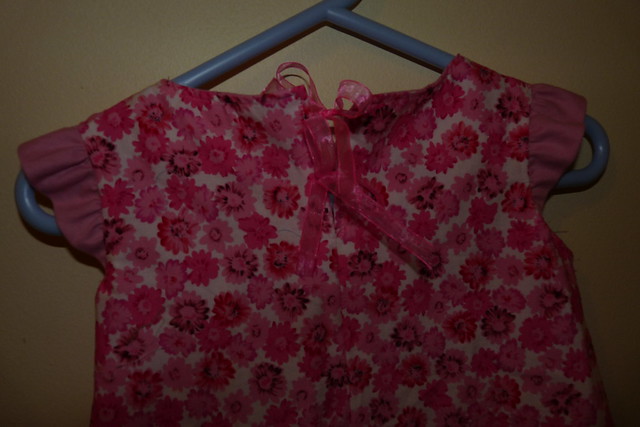
I used ribbon ties for the back.
Elsie dress (back view)

Tuesday, August 16, 2011

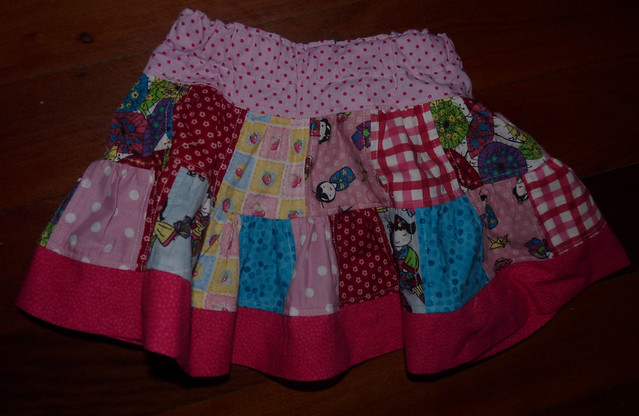
Skirting around

Now people who regularly read my blog would understand how I like to mix up the boy sewing with a bit of the "pretty". So when I heard that one of my work colleagues was having a girl, well I just couldn't resist.
P1020996

Pattern: Pink Fig Patchwork Skirthttp://www.blogger.com/img/blank.gif
Sizing: 6 to 12 months
Fabric: Mostly leftovers with the bottom trim from Lincraft

Pattern review is here.

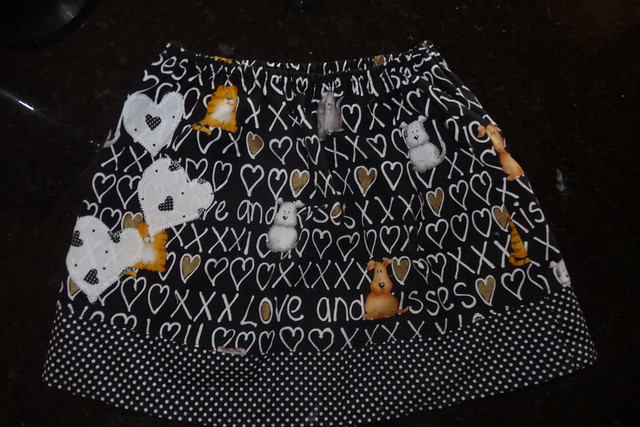
And this skirt is in a larger size for a gift. It started off as a dress, and well, as you can see that's that didn't happen and it ended up as a skirt.
P1020993

Pattern: Adapted dress
Fabric: From stash
Sizing: 2

Saturday, May 14, 2011

Ruffle romper


Not set to finish with the ruffled bloomers, I made a pair of ruffled rompers. They look very cute and while I haven't seen what look like on, the photos here do not do them justice. I think that it adding snaps to the bottom to make nappy changes or toilet training easier for this size (size three) would be a good idea. Here's the link to a finished pair by the pattern designer Tie Dye Diva to give you an idea of the finished look.

Fabric:
quilter's cotton from Spotlight
Made for: Lily
Pattern: Tie Dye Diva, size 3, Ruffle Romper (no pattern alterations)

Thursday, May 5, 2011

Ruffle pants and swing top

It seems like ages since I have posted about a finished item. I have been crafting; just the time has been shortened, especially as I have been feeling tired at night and knitting a few rows here and there is more appealing. Now also that I'm working full-time my crafting time will be especially tight. Before I changed working days, I was able to make this cute little ensemble for a work friend's little girl. The cuteness factor is huge!! It was also a change to fiddle and learn how to use my new overlocker which deserves a post of its own. The patterns were super easy, especially with doing the rolled hem on my overlocker and for extra cuteness I made a covered button for the back.

Ruffle pants back


Front of the whole outfit showing the swing top


Back of the whole outfit


Made for: Miss Lily, aged nearly 3
Fabric: Cotton from Spotlight
Patterns: Tie Dye Diva

Thursday, March 31, 2011

EB Swap Item Sent - Girl's Outfit

The second outfit I made was for Karen (Brazen)'s little girl, Emelia. When I asked Karen a bit more about what her daughter liked, I was channelling Hannah Montanna which was a pretty scary experience! I guess that was what came to mind when Karen mentioned that Emelia loves clothes which she thinks older girls would wear.

I'd already flicked through my Ottobre magazines and had an idea of what I wanted to make.

I'll show some static shows but Karen has given me permission to share some "action" shots which are below all of the details.

The vest is from Ottobre 1/2008 and is called the "Juliet" vest. I had some fun hammering in the eyelets into the back. The embroidery is by Bunnycup Embroidery and I added some rhinestones which I used the iron to heat-set on. The thread is metallic.


I had some leftover fabric so I decided to make the Izzy and Ivy Jack and Jill hat. A bit fiddly but I'm sure I'd find it easier to sew the next time around. I wasn't happy with how the brim turned out (is a bit wonky) and I unpicked the band a couple of times to get the stripes a bit more even. I think it looks much better on than off and apparently Emelia loves it ALOT! I especially love the big flower and could see myself making these for embellishing other clothes.

For the pants I decided to tackle the knickerbockers also in Issue 1/2008. The instructions sounded deceptively simple (perhaps because they lacked the detail/pictures). But thanks to some help from the ladies at Crafty Mamas I got through it! The embroidery near the pocket is also from Bunnycup Embroidery with rhinestones added.


I also made a top for under the vest but in my sewing stupor I cut a size below what I should have (a 5/6 rather than a 7/8). I thought it would be ok going by the measurements but it ended up that the neck opening was too small which I am disappointed about. I suggest that if you are making this pattern to double-check this on the pattern before cutting.


How the outfit was supposed to look all together


And some photos modelling the outfit


Sewn for: Karen's daughter Emelia
Patterns: Ottobre 1/2008 Juliet vest, knickerbockers, Izzy and Ivy Jack and Jill Hat, Emily Bell Sleeve Tunic by Sis Boom
Alterations: I reduced the height of the hat by 1cm and advise of a fellow sewer who had made this pattern before
Fabric: Vest/hat, pants, tunic and ribbon trim from Spotlight, rhinestones and lining fabric from Lincraft
Wednesday, March 23, 2011

Kid's clothing sewing swap - second oufit

I have to admit the instructions looked simple and easy but sewing the bottom half of this outfit was a bit of a stretch for me. Partly because I like little diagrams and in-depth instructions that I can follow to the rule, and secondly there were a few things about the bottom half that I'd never attempted (successfully) before. Even in my decades of sewing I've only tried a fly front once and that was a semi (that is, still wearable) disaster. So then when I go to work out how to do it this time, years and years later, I search the internet and find there are lots of different tutorials which show similar yet all different ways to do a fly front which ends up just confusing me more. Yes, I did pick one way and yes, next time I will do it differently. Finally, though it is finished and here is a sneak peek.

One of my favourite bits (from the top piece which is also Ottobre but quicker to sew)